
360° Panoramas
A 360° panorama shows everything around one point: in a 360° viewer you drag to look around, as if you were standing in the room. Rayscaper renders panoramas with its Panoramic camera, as equirectangular images, the format that virtual tour software, VR headsets and photo sites expect. This guide takes you from a camera position in SketchUp to a panorama you can share.

Drag to look around
The living room of the camera settings scene at dusk, rendered as a panorama: recessed downlights with IES profiles, a glowing pendant, garden uplights outside and the Rayscaper logo on the TV through a textured emission. Drag to look around.
Step 1: Place the Camera in SketchUp
Section titled “Step 1: Place the Camera in SketchUp”Rayscaper renders the panorama from the position of the SketchUp camera, so stand where the viewer should stand:
- At eye height. About 1.6 m (5’3”) above the floor feels natural. SketchUp’s Camera > Position Camera tool puts the camera at eye height where you click on the floor; type another height in the Measurements box.
- In an open spot. Nothing is cropped in a panorama, so whatever is close to the camera looks large. Keep a meter or so from furniture and walls; the middle of a room usually works.
- Facing what the viewer should see first. The direction SketchUp looks in becomes the center of the panorama, which is where most viewers start.
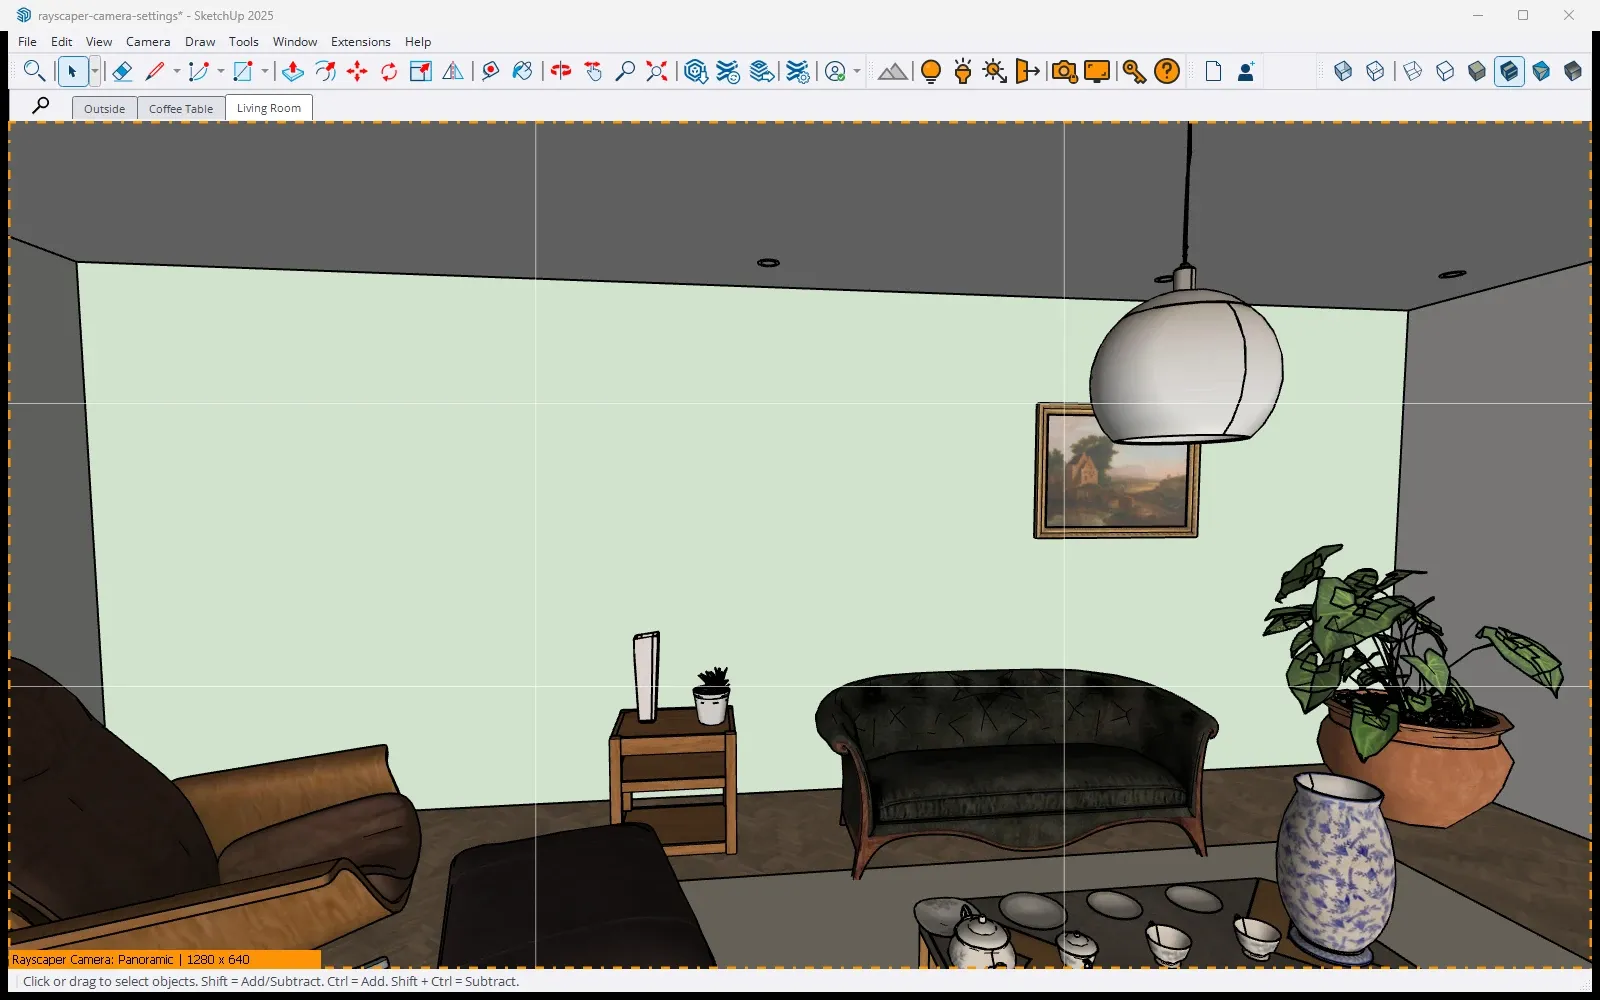
The SketchUp view of the panorama above: the sofa wall it looks at is the center of the panorama. The label in the lower left shows that the Rayscaper camera is panoramic.
Step 2: Switch to the Panoramic Camera
Section titled “Step 2: Switch to the Panoramic Camera”Click Start Render and open the Camera section of the Scene Editor. Click Panoramic at the top.
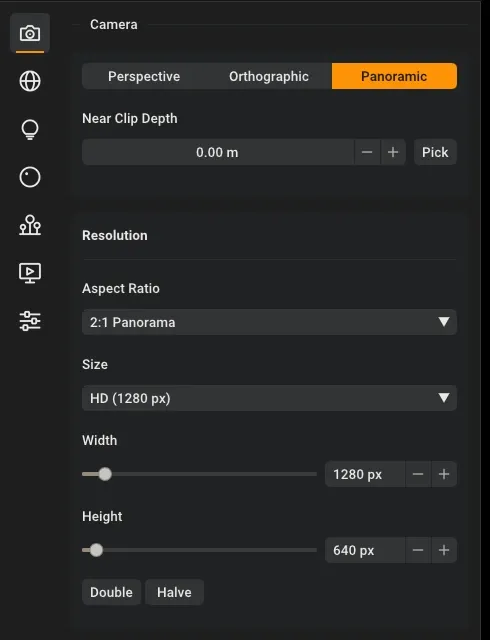
The Camera section with the Panoramic projection. It has no field of view: a panorama always shows everything.
The render now shows the whole room unrolled, the way a world map shows the whole globe: straight lines bend, and the ceiling and the floor stretch across the top and the bottom. A 360° viewer turns it back into a natural view.
The camera stays panoramic while you orbit, pan or click a scene tab in SketchUp, so you can still fine-tune the position.
Step 3: Set a 2:1 Resolution
Section titled “Step 3: Set a 2:1 Resolution”An equirectangular panorama is exactly twice as wide as it is high: 360° around and 180° from the floor to the ceiling. Under Resolution, choose 2:1 Panorama as the Aspect Ratio.
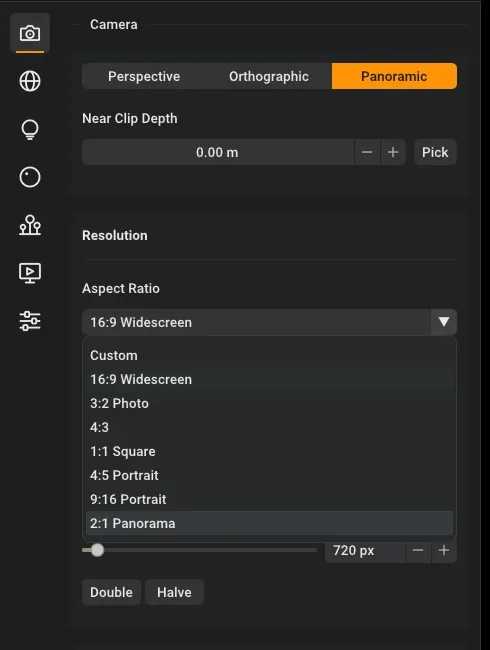
Any other shape looks stretched or squashed in a 360° viewer.
Then pick the size. A viewer only shows a part of the panorama at a time, so it needs more pixels than a regular render to look sharp:
| Resolution | Use it for |
|---|---|
| 1280 × 640 (HD) | Checking the camera position and the lighting. |
| 3840 × 1920 (4K) | Panoramas on a website or a screen. |
| 8000 × 4000 (type it in Width) | Sharp panoramas in a VR headset or a tour that zooms in. |
| 16384 × 8192 | The largest panorama Rayscaper renders. It needs about 4.4 GB of extra graphics memory, see Resolution. |
Step 4: Render and Save
Section titled “Step 4: Render and Save”A 4K panorama has about four times the pixels of a Full HD render, so it takes longer. Check the view at a low resolution or with the Draft quality first, then switch to the final size and Final quality.
When the render is done, save it with the Save toolbar button, File > Save… or Ctrl+S, as a PNG (more on saving).
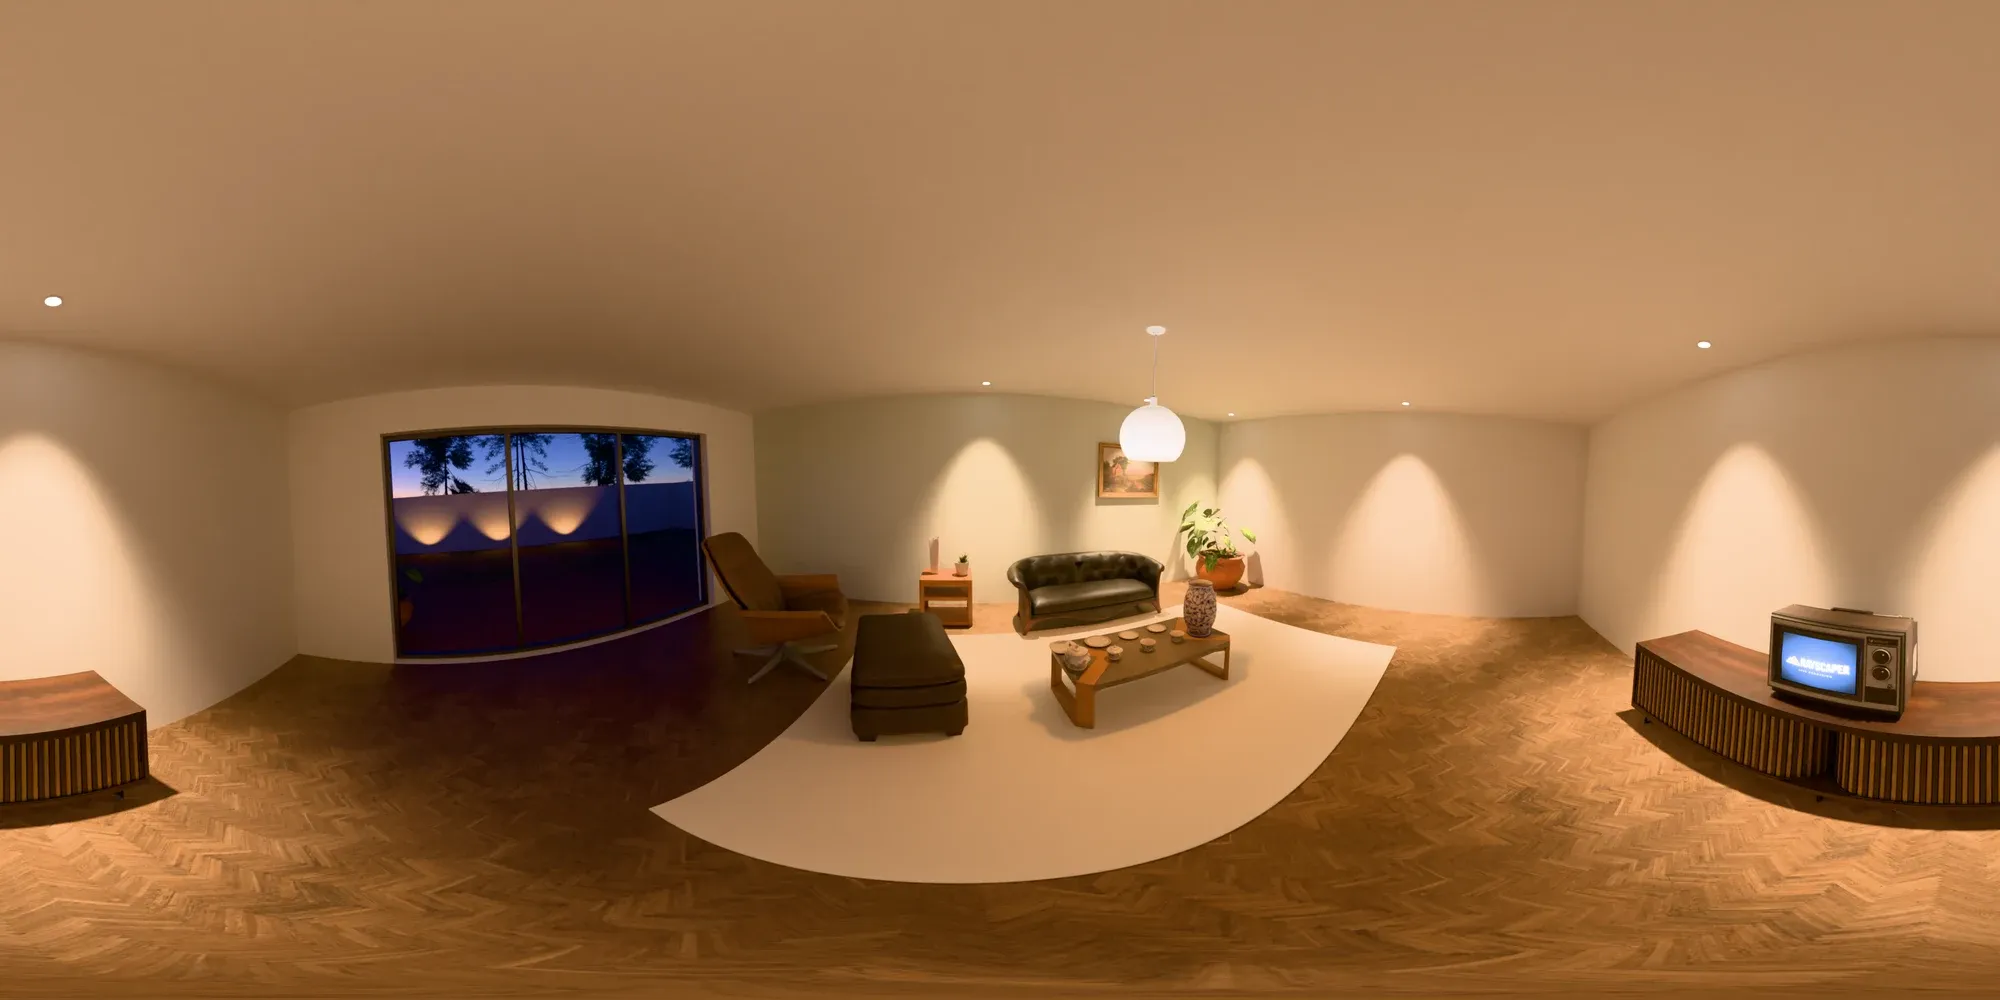
The saved panorama, unrolled. A viewer shows it as at the top of this page.
Step 5: View and Share It
Section titled “Step 5: View and Share It”Open the PNG in any 360° viewer or virtual tour tool, for example Kuula, Pano2VR, 3DVista or Marzipano. They recognize a 2:1 image as a panorama. Some tools only take JPG files: convert the PNG with any image editor.
Making a Virtual Tour
Section titled “Making a Virtual Tour”A virtual tour is a set of panoramas that link to each other: the viewer clicks a door or a hotspot and moves to the next room.
- Add a SketchUp scene for every position: one per room, or a few in a large space.
- Click a scene tab, wait until the render is done and save it. Rayscaper keeps the Panoramic camera and the resolution, so only the position changes (in 0.9.99 and older, click Panoramic again after each tab).
- Load the panoramas into a tour tool and add the hotspots between them there.
Next Steps
Section titled “Next Steps”- Cameras: all the camera settings, including Near Clip Depth to look through a wall
- Animation Guide: render a walkthrough video instead