
Overview
This is the manual of Rayscaper, a photorealistic render engine for SketchUp. It explains every part of Rayscaper, with example renders that show what each setting does. New to Rayscaper? Make your first render with the quick start first, it takes two minutes.
How Rayscaper works
Section titled “How Rayscaper works”Rayscaper renders your SketchUp model live. Click Start Render on the Rayscaper toolbar and the render window opens next to SketchUp and starts rendering. From then on you keep modeling as usual: when you orbit the camera, click a scene tab, move a chair or paint a face, the render follows right away. There’s no export step and no separate scene to keep up to date.
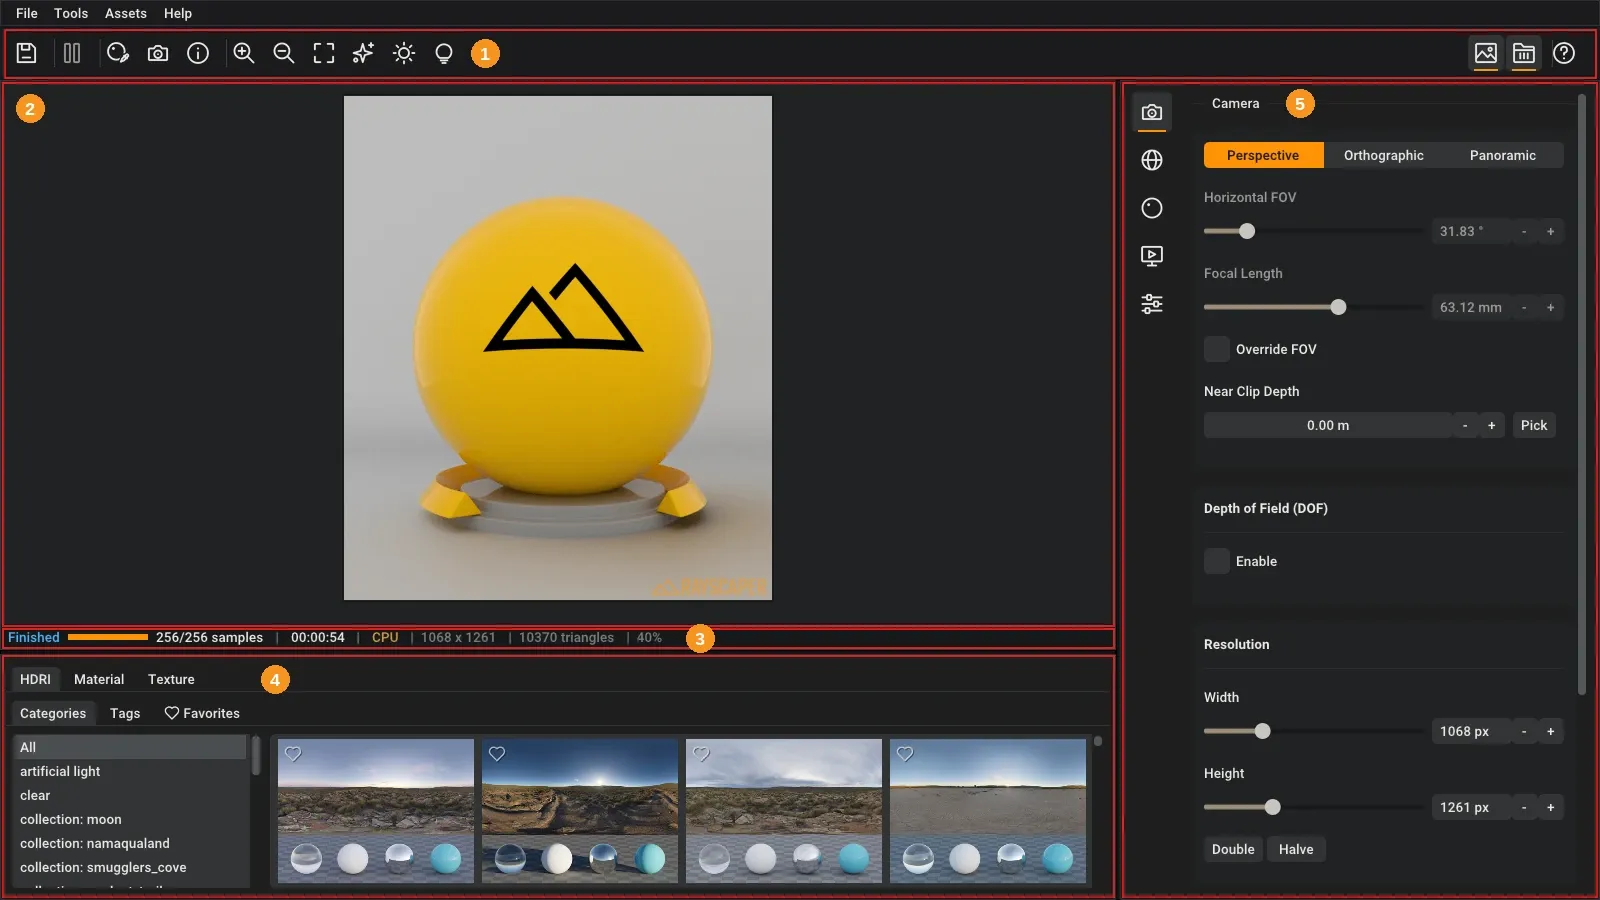
The render window shows the render, with the Scene Editor on the right and the Asset Manager below. The Scene
Editor holds everything that SketchUp doesn’t know about, such as the lens of the camera, the sky, the shininess of a
material and the render settings, in one section per subject. Rayscaper saves these settings in the .skp file, so
the model renders the same the next time you open it, also on another computer. See
User Interface for a tour of the window, its toolbar and its menus.
From model to render
Section titled “From model to render”Most renders go through the same steps. Each step links to the page that covers it.
- Frame the shot. The render shows what the SketchUp camera sees. Set the image size, the lens and depth of field in the Camera section.
- Light the scene. Start with the environment: an HDRI, a sky that follows SketchUp’s sun, or a single color. Add lights for lamps, spots and windows at night.
- Make the materials real. Every SketchUp material gets a Rayscaper material. Pick its type, such as glass, metal or water, and add textures for roughness and relief. Or drag a ready-made material from the Asset Manager.
- Add nature. Scatter fills a lawn, a forest floor or a field with thousands of plants and stones, without making your SketchUp model heavy.
- Finish the image. Choose a render method and how many samples to render, then adjust exposure, colors, bloom and glare in post processing. AI denoising cleans up the noise.
- Save it. Save the render as a PNG, or as an EXR for further editing, see Saving a render.
Videos
Section titled “Videos”Prefer to watch? These short videos show Rayscaper in a real SketchUp session. Each has a scene to download from its page, so you can follow along, also with the free version.
Your first render in two minutes, from the Quick Start: from a SketchUp model to a finished render.
From the Camera page:
The manual
Section titled “The manual”Most pages show what each setting does with renders of an example scene, such as the ones below.
The scene
Section titled “The scene”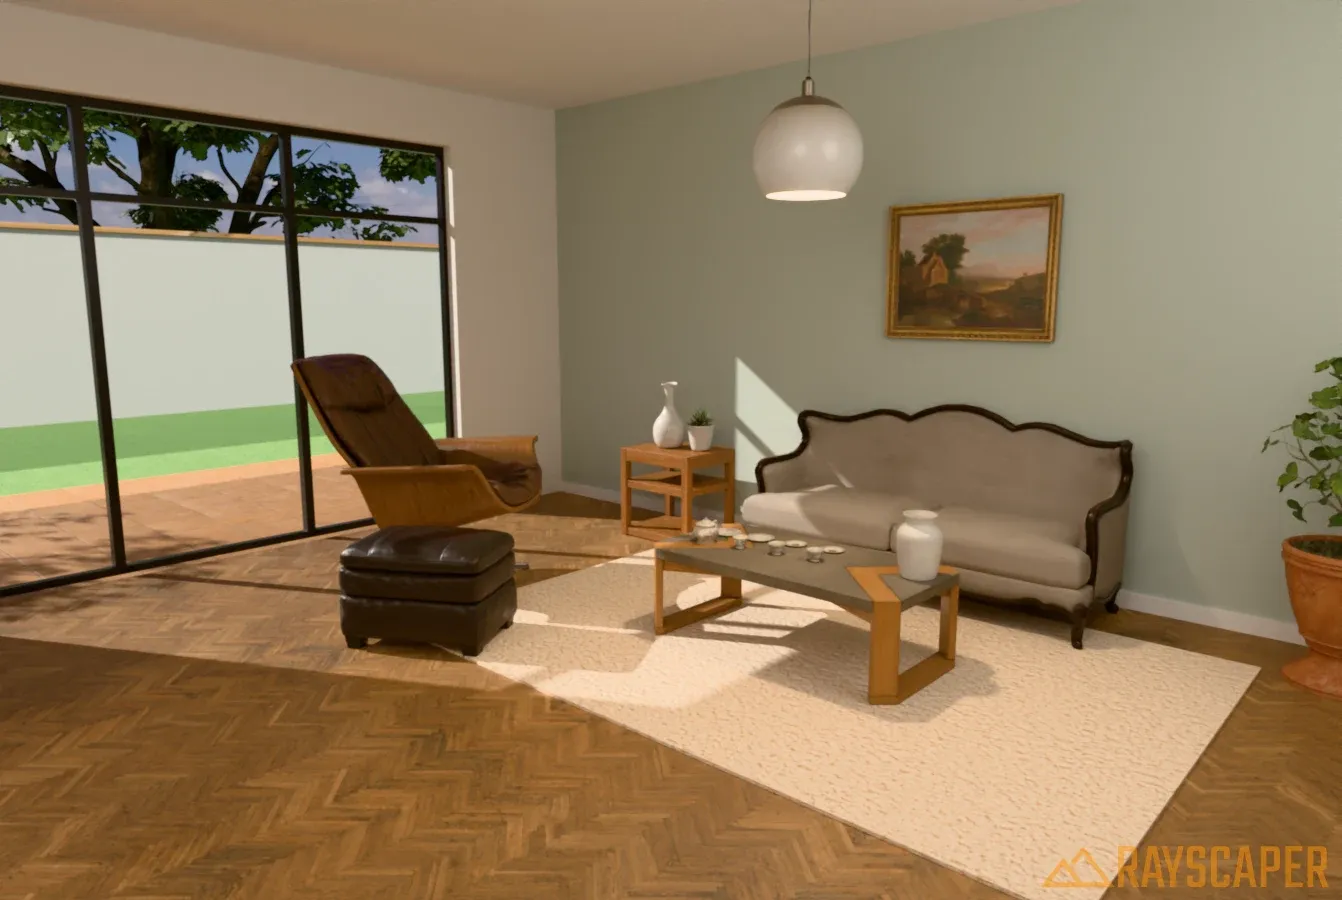 Camera
 Projection, field of view, depth of field, resolution and pixel filter. With two videos.
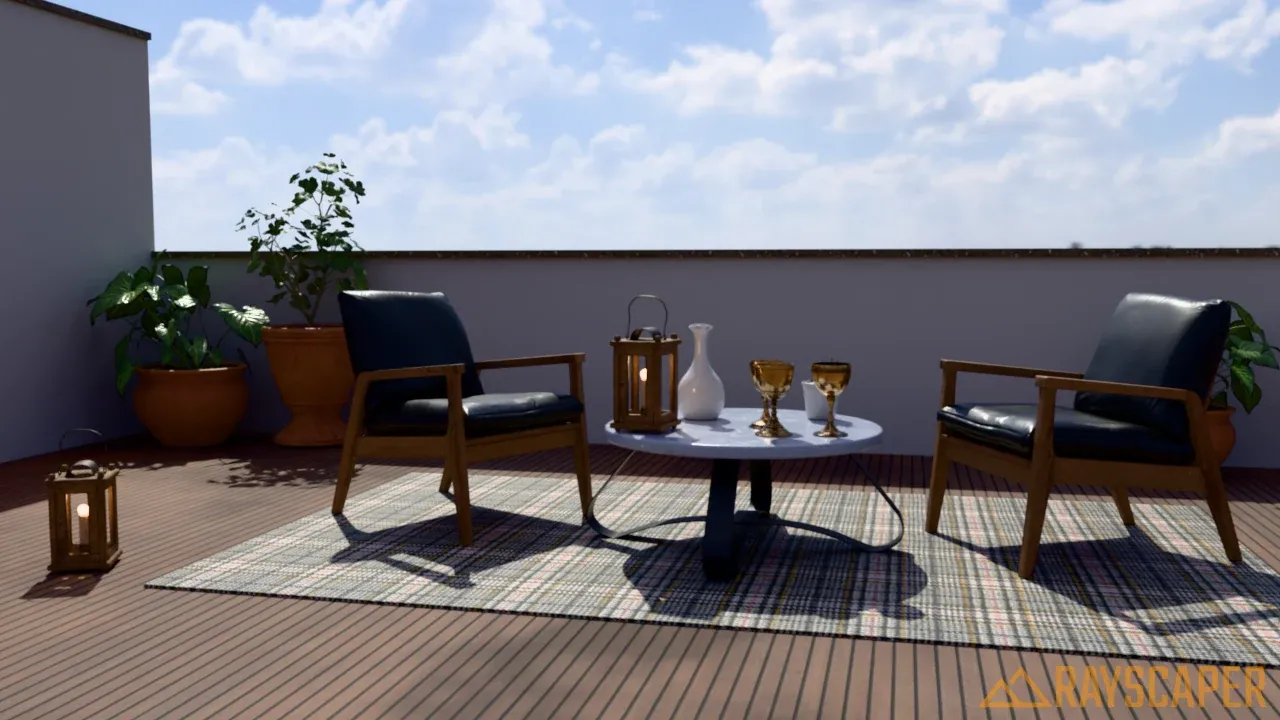 Environments
 Light your scene with an HDRI, a procedural sky or a single color.
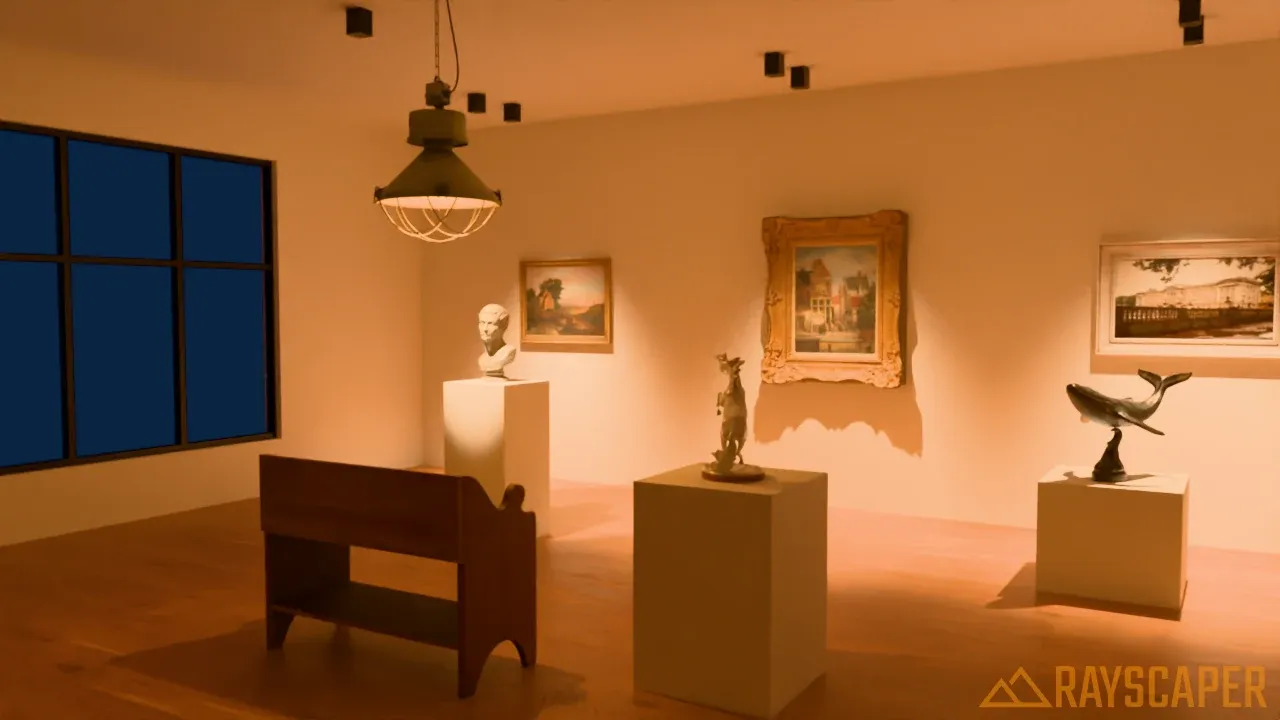 Lights
 Point lights, spotlights, directional lights and area lights, with IES profiles.
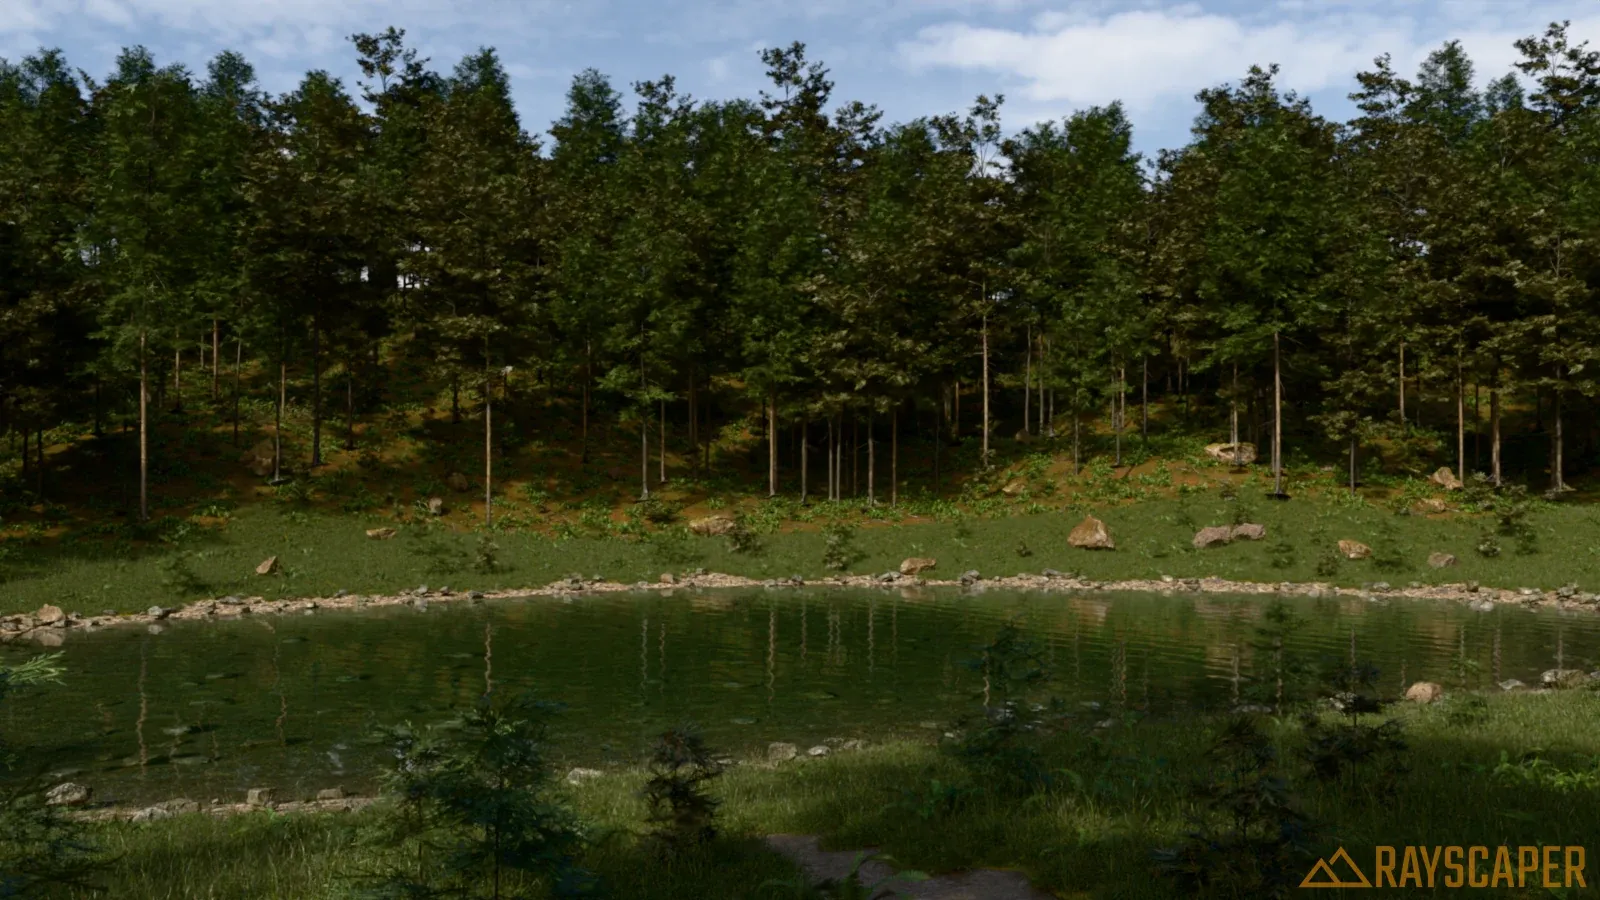 Scatter
 Cover surfaces with trees, grass and rocks that only exist in the render.
Materials
Section titled “Materials”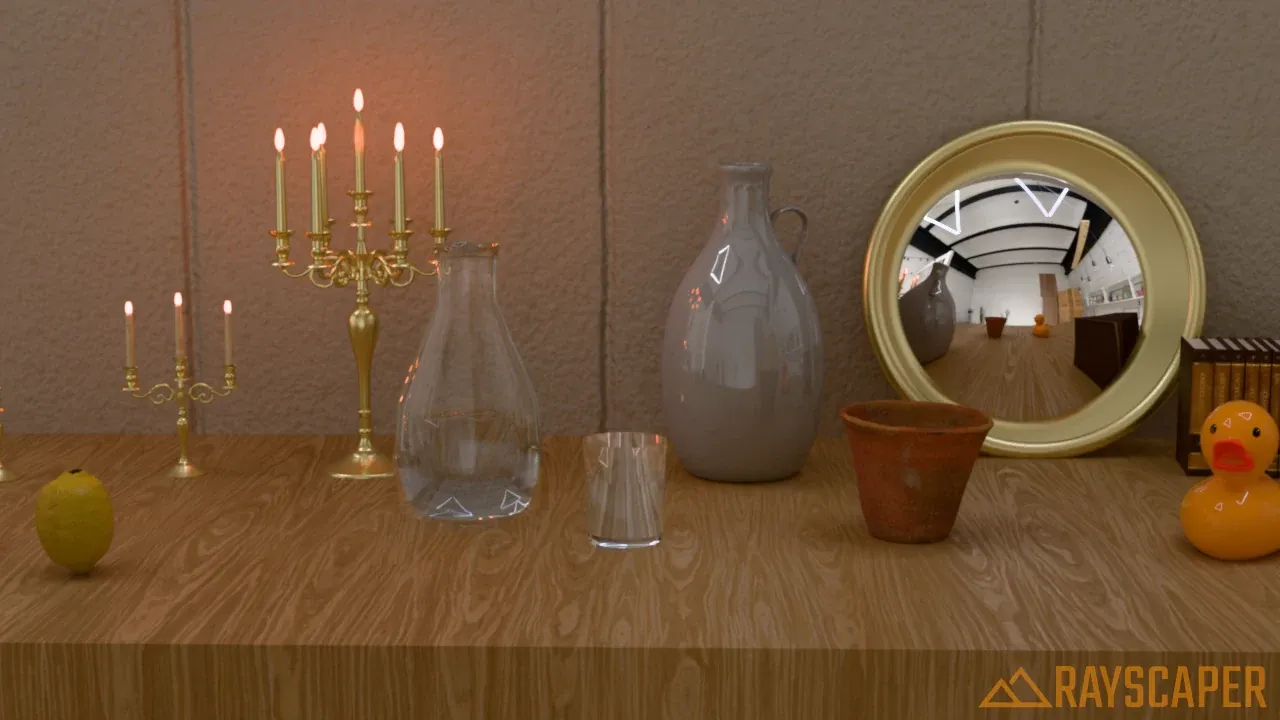 Materials
 Edit materials and set their color, opacity, normal map and emission.
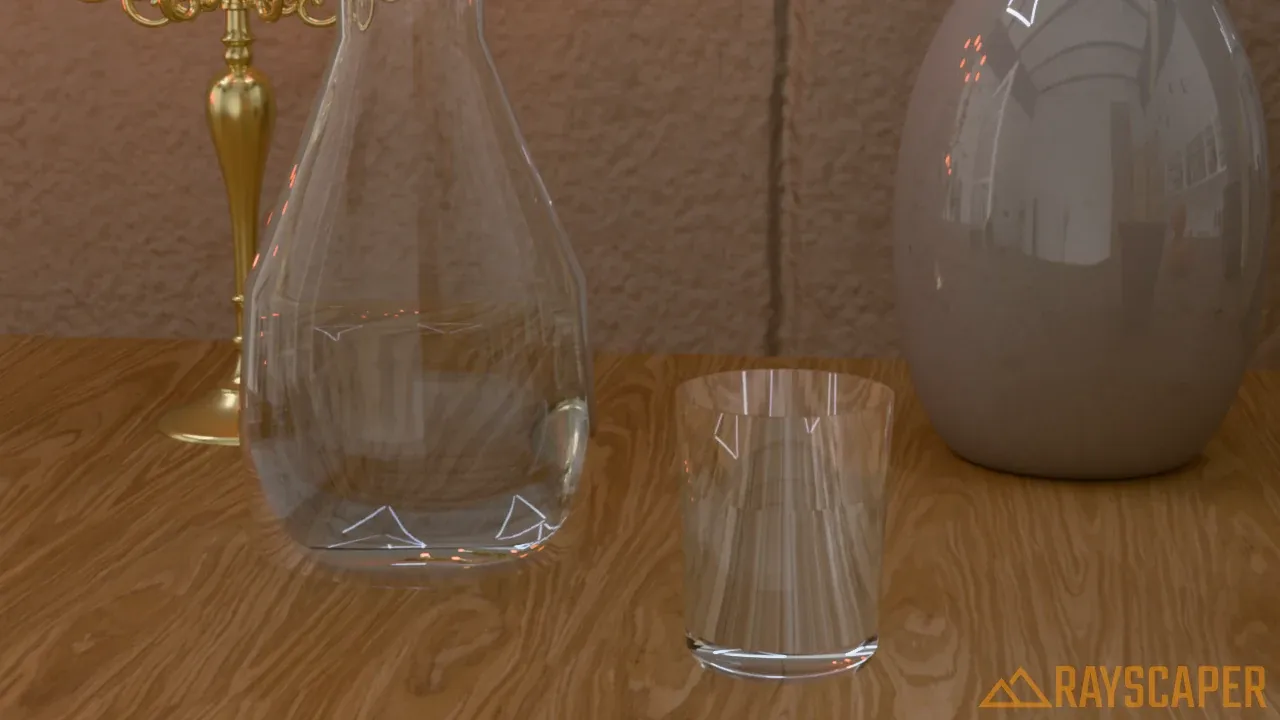 Material Types
 The settings of every material type, from PBR and glass to metal and water.
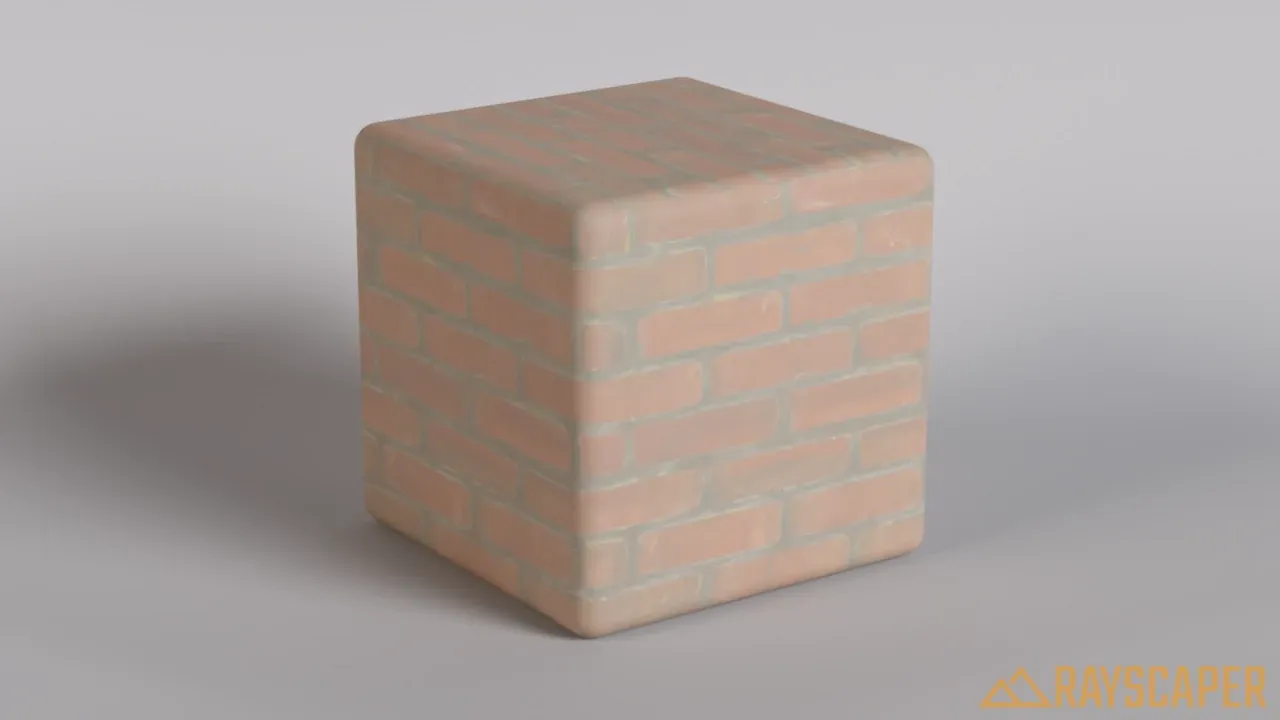 Textures
 Drive a material’s settings with images, checkers, noise and mixes.
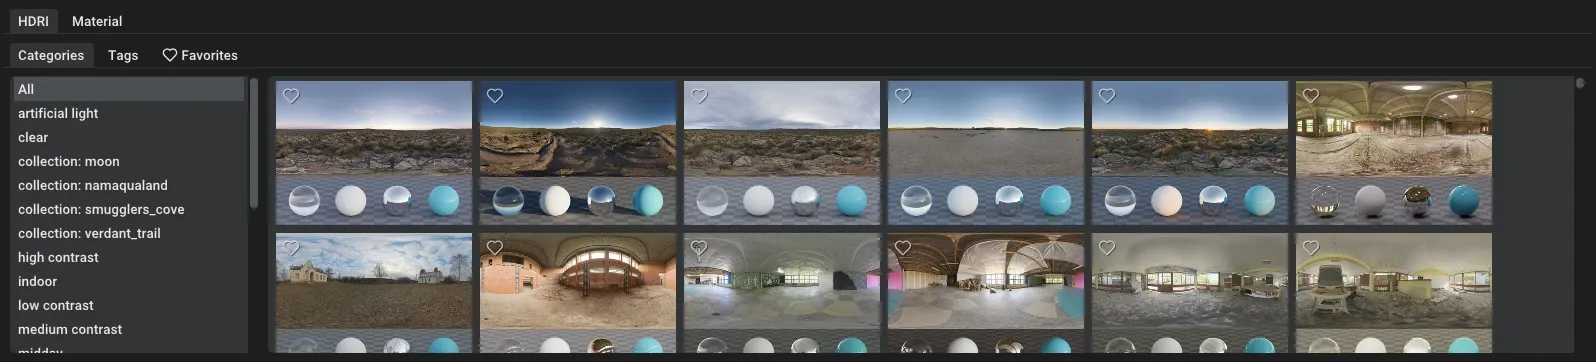 Assets
 Browse HDRIs and materials, drag them into your scene and save your own.
The render
Section titled “The render”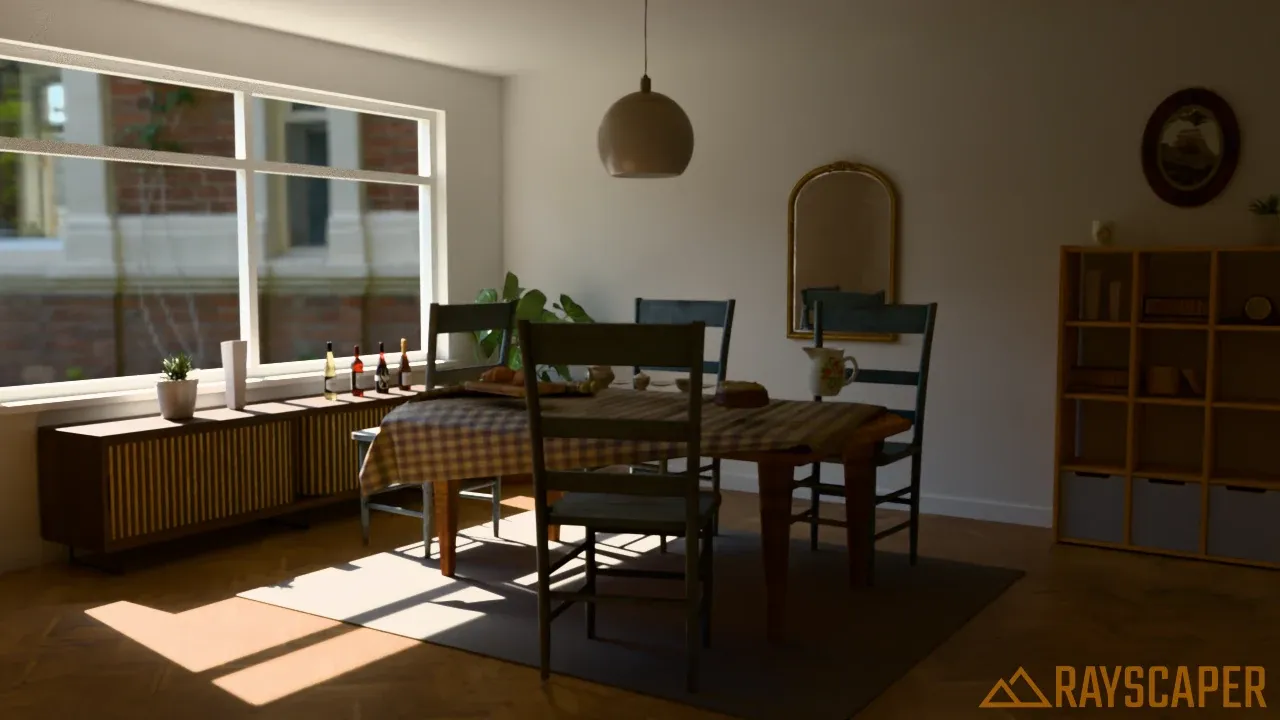 Render Methods
 Full global illumination, a faster approximation and diagnostic views such as ambient occlusion.
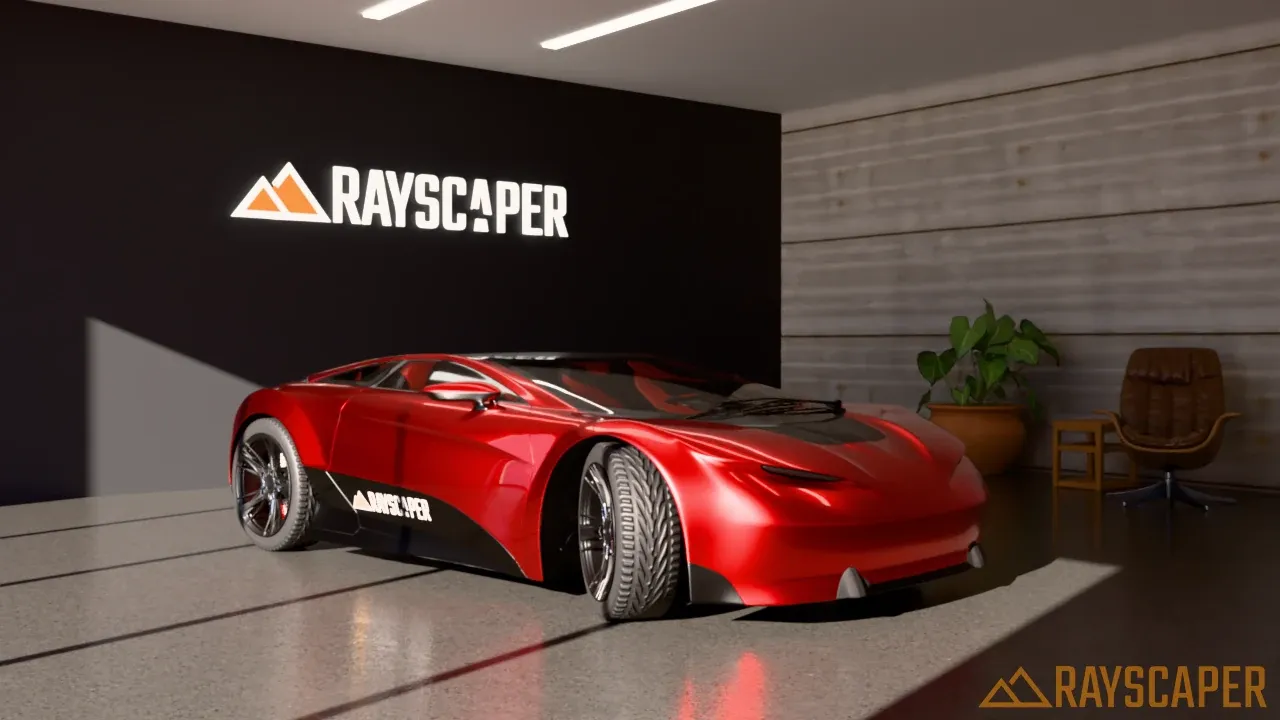 Post Processing
 Denoising, exposure, tone mapping, bloom, glare, vignette and color.
Reference
Section titled “Reference”- User Interface: the SketchUp toolbar, the render window, keyboard shortcuts, settings and the Extensions menu.
- System Requirements: the hardware and software Rayscaper needs, and which GPUs can render.
- Release Notes: new features, improvements and bug fixes per version.
- Roadmap: what’s coming next.
Beyond the manual
Section titled “Beyond the manual”- YouTube: all videos, including the installation walkthroughs, are on the Rayscaper channel.
- Guides: step-by-step instructions for rendering animations and using Skatter.
- FAQ: answers to common questions about installation, licensing and rendering.