
Textures
Textures let a setting vary across a surface. Instead of a uniform red, the color can come from a photo of wood grain. Instead of one roughness everywhere, worn areas can be rougher than polished ones.
Every material setting in Rayscaper is a texture. The simplest texture is a constant: a single color or number. For more detail, use an image, a procedural pattern, or a combination of textures.
Each setting has two icons next to its name:
- Sliders icon: opens the texture editor for the setting. Choose a type in the Texture Type dropdown and adjust its settings there. Click the icon again to close the editor.
- Image icon: loads an image file for the setting directly.
Right-click the sliders icon for Edit, which opens the texture editor, and Clear, which resets the setting to black, or to 0 for settings with a single value.
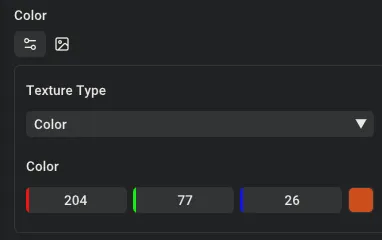
Click the sliders icon next to a setting to open its texture editor, then pick a type in the Texture Type dropdown.
Videos
Section titled “Videos”Stone, wood and tiles drags a Poly Haven material from the Asset Manager onto a wall, makes its stones larger with Texture Mapping, deepens its joints with the Strength of the normal map, and tiles the floor. To follow along, download its scene, rayscaper-textures.skp (8.0 MB): a Mediterranean courtyard. It works with the free version of Rayscaper.
Place your textures loads an image of your own onto a canvas, shows on a numbered grid how UV mapping follows the texture position from SketchUp, scales and turns the image in Rayscaper, switches a turned planter to Tri-Planar mapping, and shows an image once as a decal with the Black wrap mode. Its scene, rayscaper-image-textures.skp (9.0 MB), is a studio loft with a UV grid block.
Constant
Section titled “Constant”A single value: a color, or a number for settings like roughness. Color settings use a color picker, number settings a slider. The Texture Type dropdown has no entry called Constant: it lists this type as Color for color settings and as Value for number settings.

Click the color swatch to open the color picker.
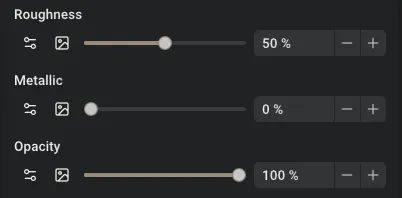
Drag the sliders to set settings like Metallic, Roughness and Opacity.
Image textures take a setting from an image file. This is how you make realistic materials: with photos and texture maps for the color, the roughness and the other settings.

Click the image icon next to a setting to load an image file. The setting then shows the file name.
Once an image is loaded, the image texture panel shows the file, its placement and how it’s read.
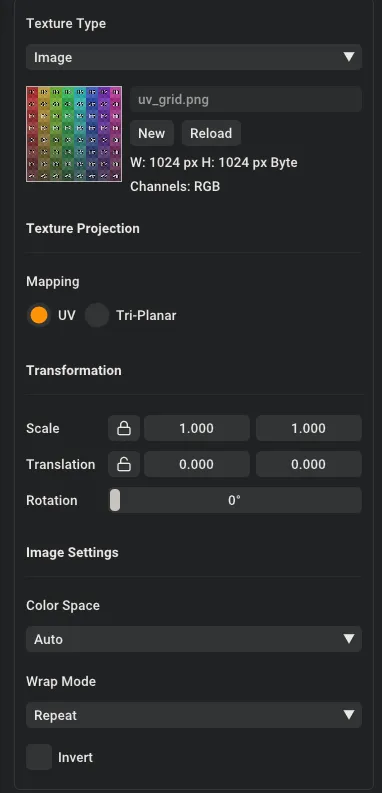
The image texture settings.
Loading Images
Section titled “Loading Images”The panel shows the loaded file with its size and color channels. Use New to load a different file, and Reload to pick up changes after you edited the image in another program.
UV Transformation
Section titled “UV Transformation”These settings adjust how this Rayscaper image uses the texture coordinates from SketchUp. They do not change the texture’s position in the SketchUp model:
- Scale: values above 1 make the image smaller, so it repeats more often. Values below 1 make it larger.
- Translation: slides the image horizontally (X) or vertically (Y).
- Rotation: turns the image around its center, in degrees.
The lock button next to Scale keeps X and Y the same, so the image keeps its proportions. It’s on by default; click it to scale X and Y separately. Translation has the same button, off by default.
The cube below has a numbered grid image on every face:
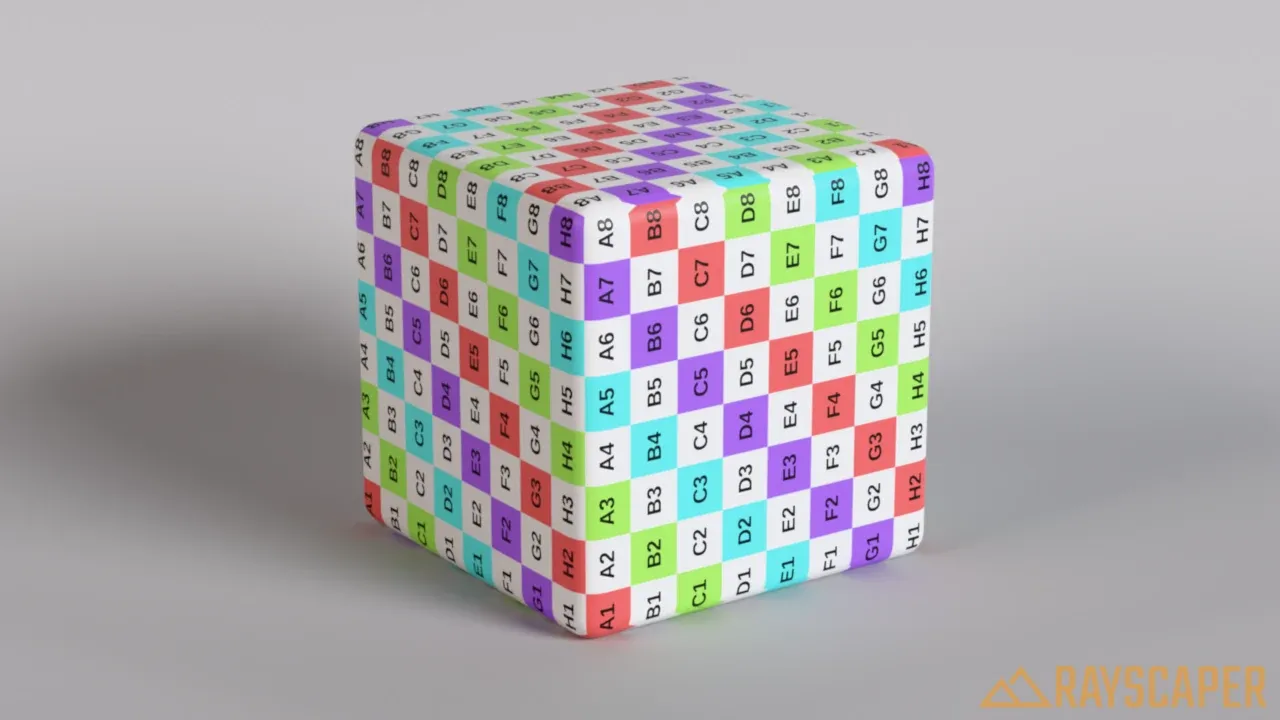
The image fills every face once.
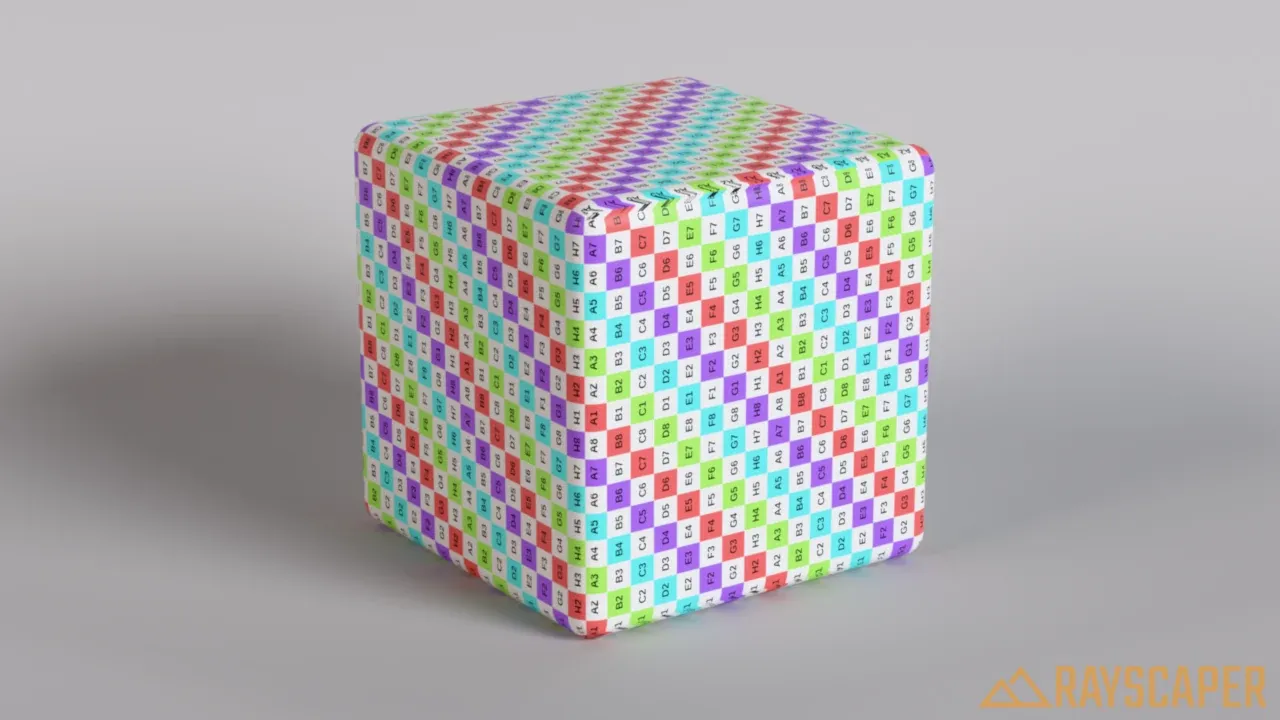
The image is half as large and repeats twice in each direction.
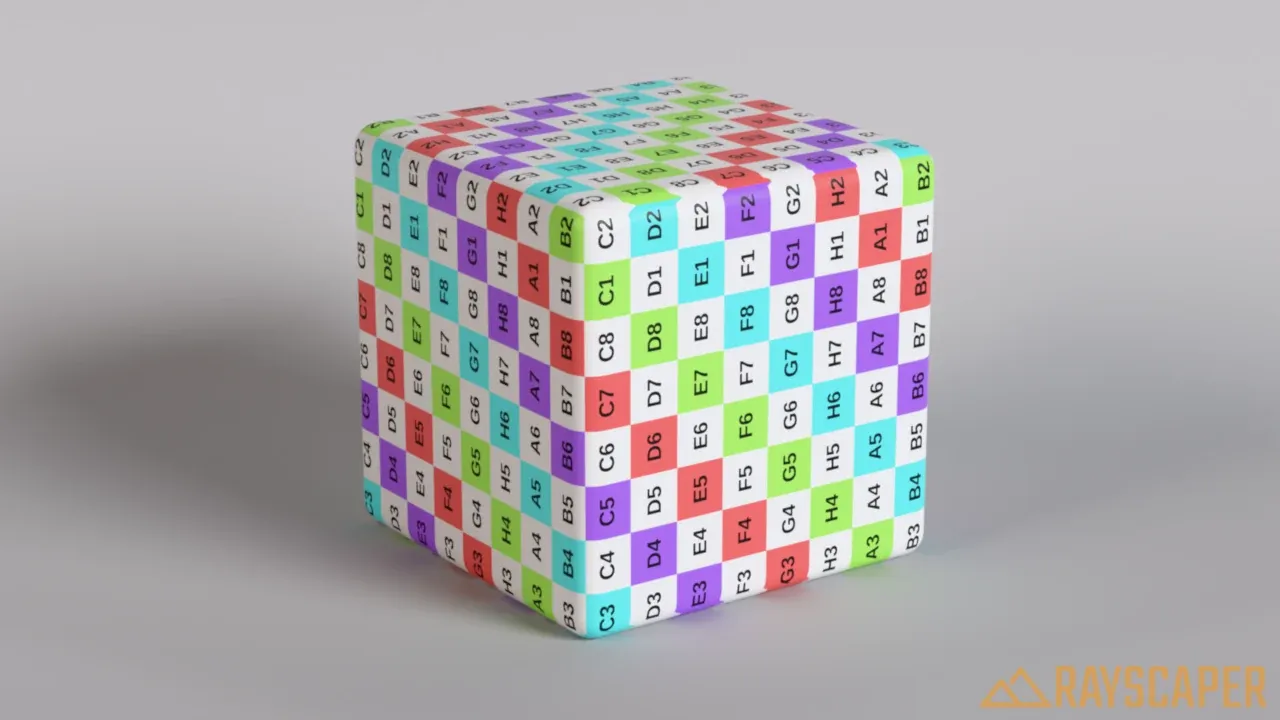
The image slides a quarter of its size, so the grid starts at a different row and column.
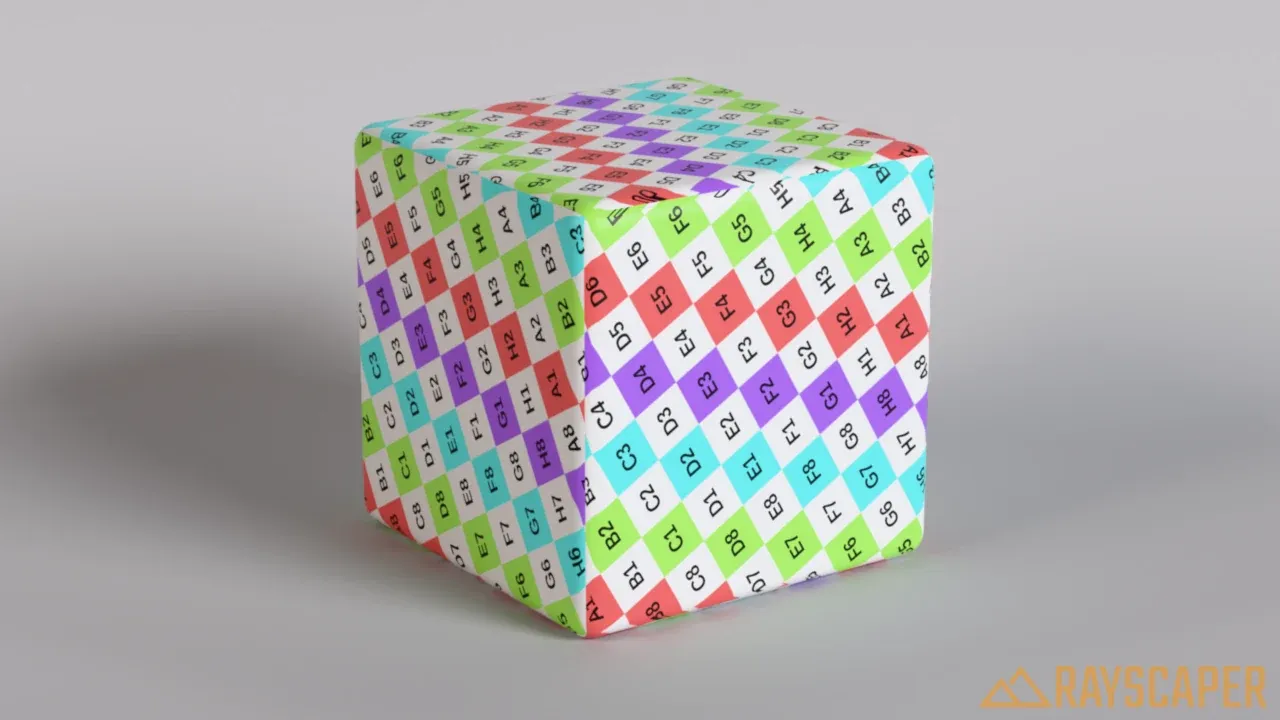
The image turns 30° on every face.
Image Settings
Section titled “Image Settings”Color Space tells Rayscaper how to read the image file:
- Auto (default): detects the color space. Right for almost every image.
- sRGB: standard photos and web images (PNG, JPEG). Choose this if colors look wrong.
- Linear: HDR images (EXR, HDR) and maps that store data rather than colors.
Wrap Mode decides what happens outside the image:
- Repeat (default): tiles the image across the surface. Works best with seamless textures.
- Black: black, or 0, outside the image. Useful for decals and masks.
- Clamp to Border: repeats the edge pixels outward, which avoids dark borders around images that don’t tile.
Invert reverses the image: dark becomes light and every color turns into its opposite. Useful for maps that are the wrong way around, like a glossiness map where Rayscaper expects roughness.
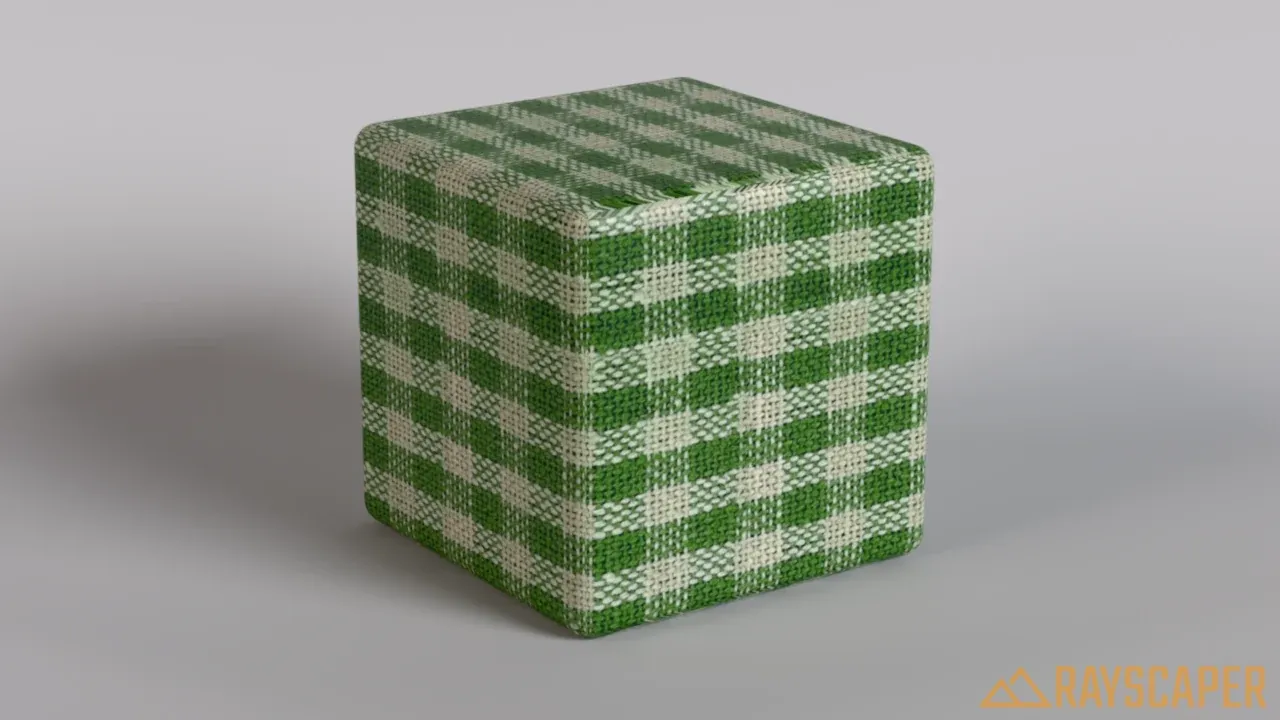
A green gingham fabric.
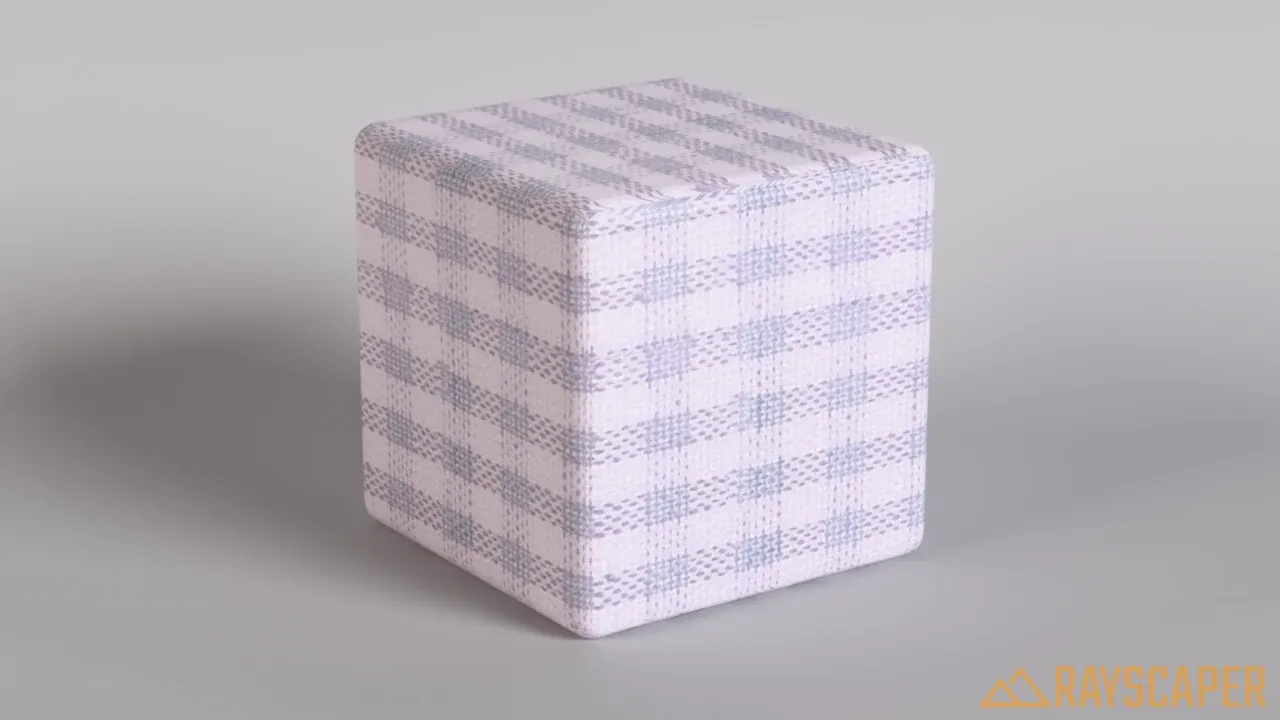
The same image inverted: the green turns pink.
Settings that take a number instead of a color, like Roughness, Metallic and Opacity, need one value per pixel. Their image textures have two more controls:
- Channel: the part of the image to read: Red, Green, Blue, Alpha or Luminance, the brightness of the pixel. The default is Luminance. Use Alpha to cut a shape out of a material with the transparency of a PNG, or a color channel for packed maps that store roughness, metallic and occlusion in one file.
- Multiplier: scales the values of the image. 100%, the default, leaves them as they are; 50% halves them.
For a texture that’s colorized in SketchUp, the panel also shows a SketchUp Colorization section with the mode (Shift or Tint) and the hue, lightness and saturation changes. These come from SketchUp and are read-only.
Texture Projection (UV or Tri-Planar)
Section titled “Texture Projection (UV or Tri-Planar)”Image textures can be placed on a surface in two ways. Choose one with Mapping under Texture Projection in the image texture editor:
- UV (default): uses the texture coordinates from SketchUp. Use this when you positioned the texture in SketchUp, for example with the Position Texture tool. If the SketchUp material is a plain color, there is no positioned image texture for a new Rayscaper image to match.
- Tri-Planar: ignores the texture coordinates and projects the image onto the object from three directions (front, side and top), also called box mapping. Use this for objects without proper texture coordinates, such as imported models, or faces where the texture looks stretched or smeared.
With Tri-Planar selected, two extra settings appear:
- Blend: how sharply the three projections meet where the surface changes direction. 0% gives hard seams, 100% a smooth transition. The default is 50%.
- Tri-Planar Transform: Scale, Translation and Rotation of the projection along the X, Y and Z axes.
Switching between UV and Tri-Planar keeps the settings of each. To change the projection of all image textures in a material at once (for example color, roughness and normal map together), use the Texture Mapping… button at the top of the material editor (see Global UV Editing).
Global UV Editing
Section titled “Global UV Editing”To move several image textures of a material together, like its color, roughness and normal maps, click Texture Mapping… at the top of the material editor. The button is only available when the material has image textures.
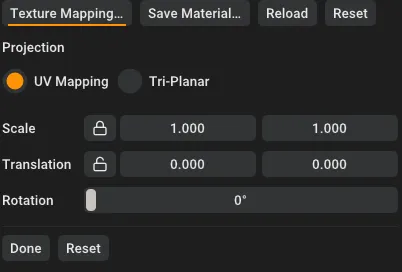
Texture Mapping. The projection and transformation apply to all image textures of the material at once.
While it’s active, changes to the projection, Scale, Translation and Rotation apply to all image textures of the material. Click Done to finish, or Reset to undo the changes.
Checkerboard
Section titled “Checkerboard”A checkerboard pattern, computed while rendering, so no image file is needed. Useful for test renders, for checking texture coordinates, and for tiled floors.
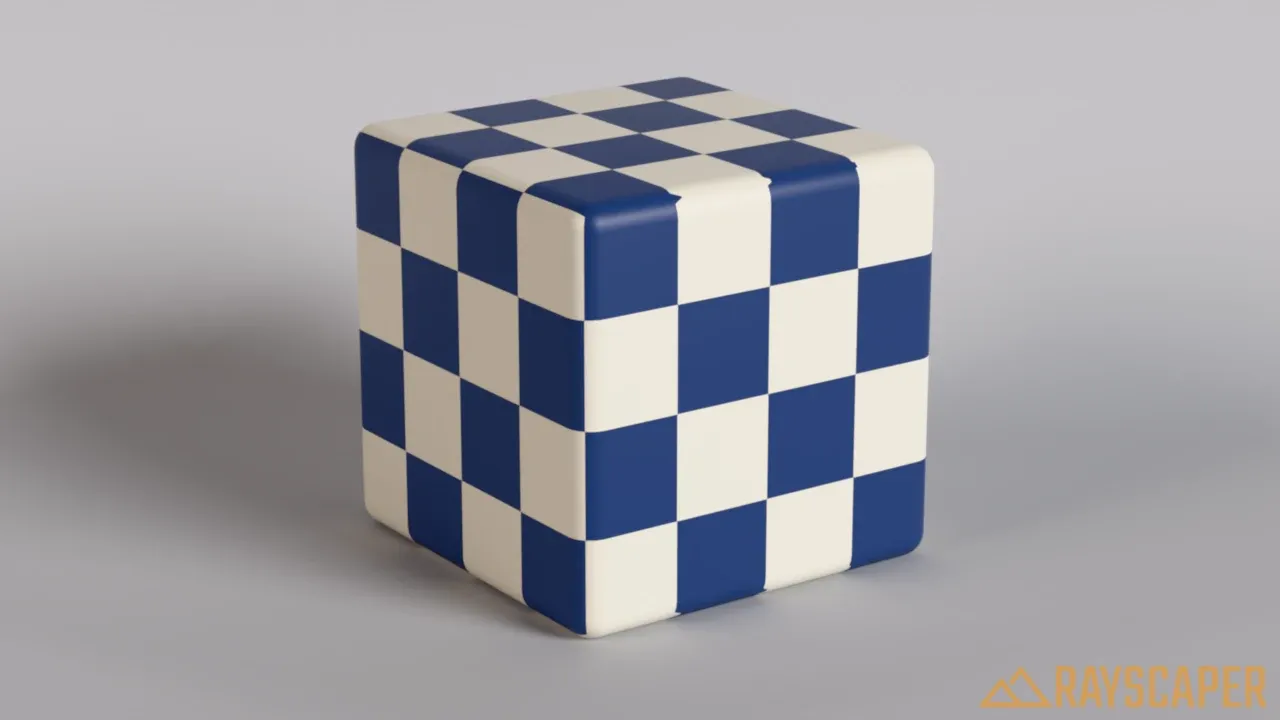
A checkerboard of two colors, with Scale set to 4.
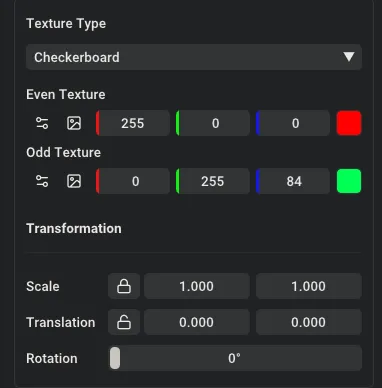
The Color setting with a Checkerboard texture: Even Texture (red), Odd Texture (green) and the Transformation.
- Even Texture and Odd Texture: the textures of the two sets of squares. Use a color or any other texture, such as an image or noise.
- UV Transformation: the size, position and rotation of the pattern. Scale values above 1 make the squares smaller.
Blends two textures. Use it to layer effects or to vary a material.
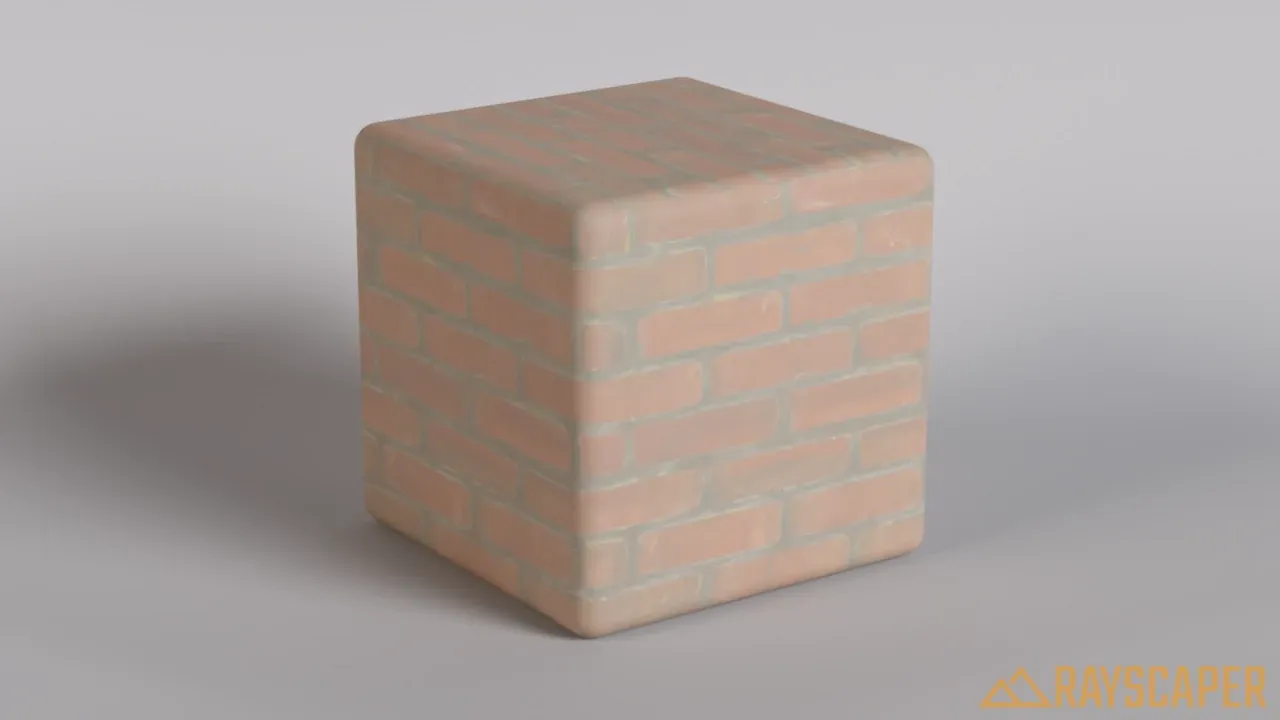
Whitewashed brick: a brick image mixed with a cream color at a Blend Amount of 0.35.
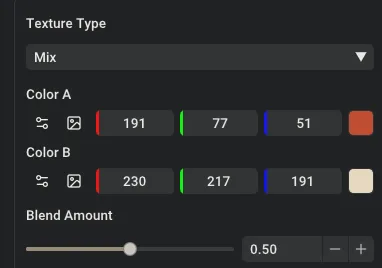
The Mix texture settings.
- Color A and Color B: the two textures. Each can be any texture type, including another mix.
- Blend Amount: how much of Color B to use, from 0 to 1. 0 shows only Color A, 1 only Color B, 0.5 an even blend.
An organic, random pattern computed while rendering. Use it to add natural variation, or for clouds, marble and stains.
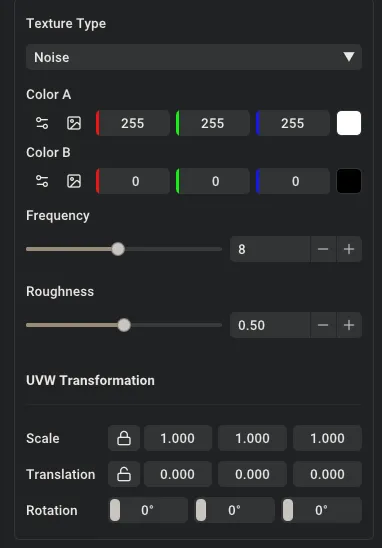
The Noise texture settings.
- Color A and Color B: the colors of the low and the high values of the pattern. Each can also be any other texture.
- Frequency: how many features the pattern has, from 1 to 16. Low values give large, smooth patches, high values smaller details.
- Roughness: adds layers of finer detail on top, from 0 to 1. At 0 the noise is smooth and soft, at 1 it gets turbulent, like marble.
- UVW Transformation: noise is defined in 3D space rather than on the surface. Scale, translate and rotate it in three dimensions. Because the pattern exists in space, it continues seamlessly around corners, like an object carved from a block of marble.
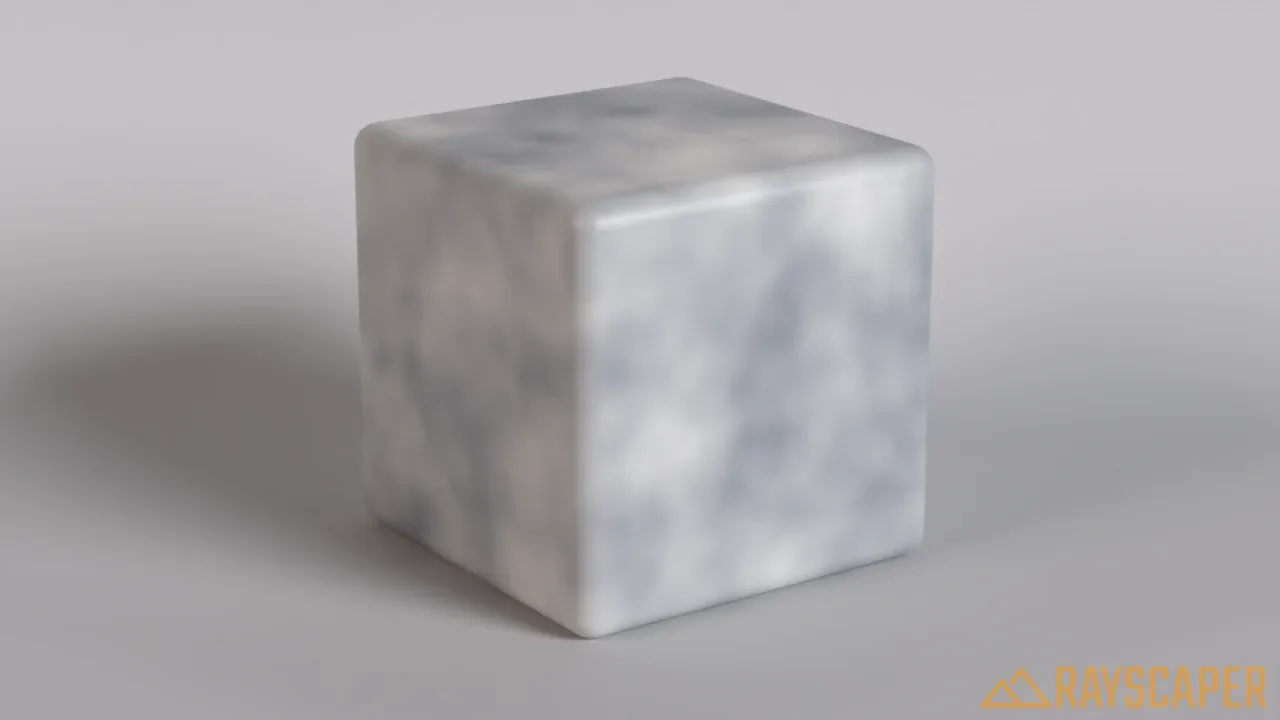
Large, soft patches.
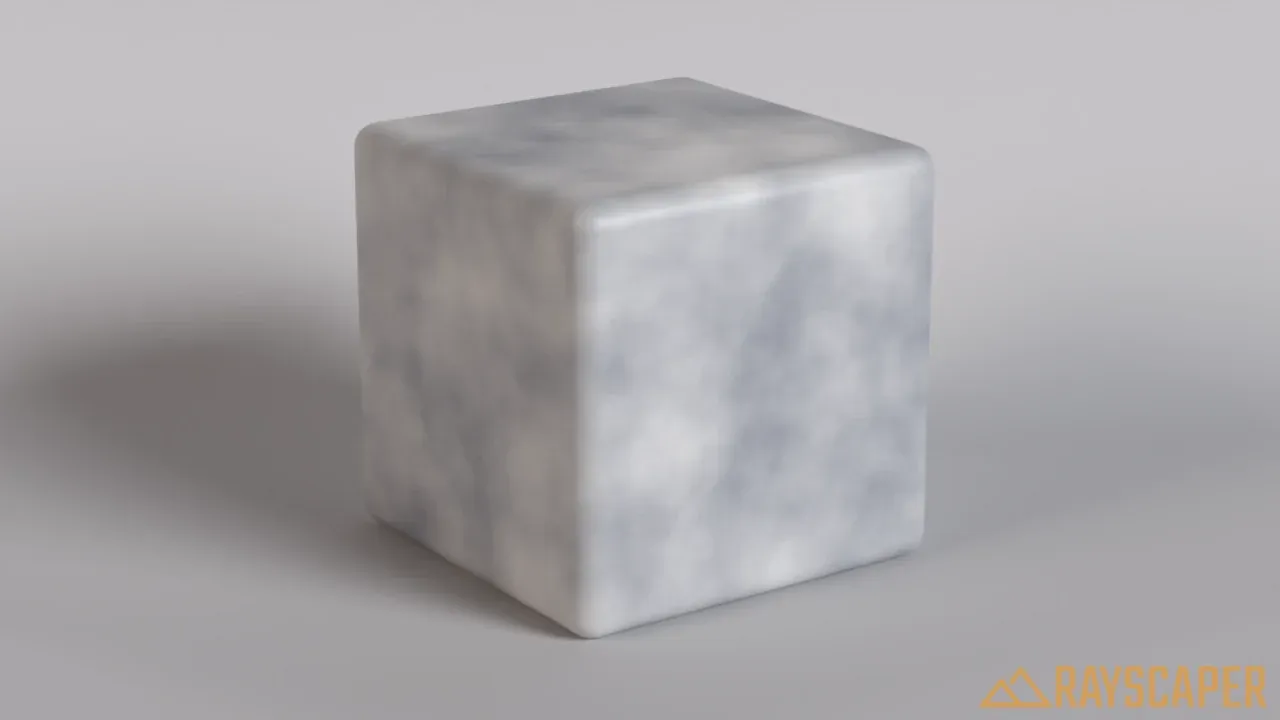
Medium patches.
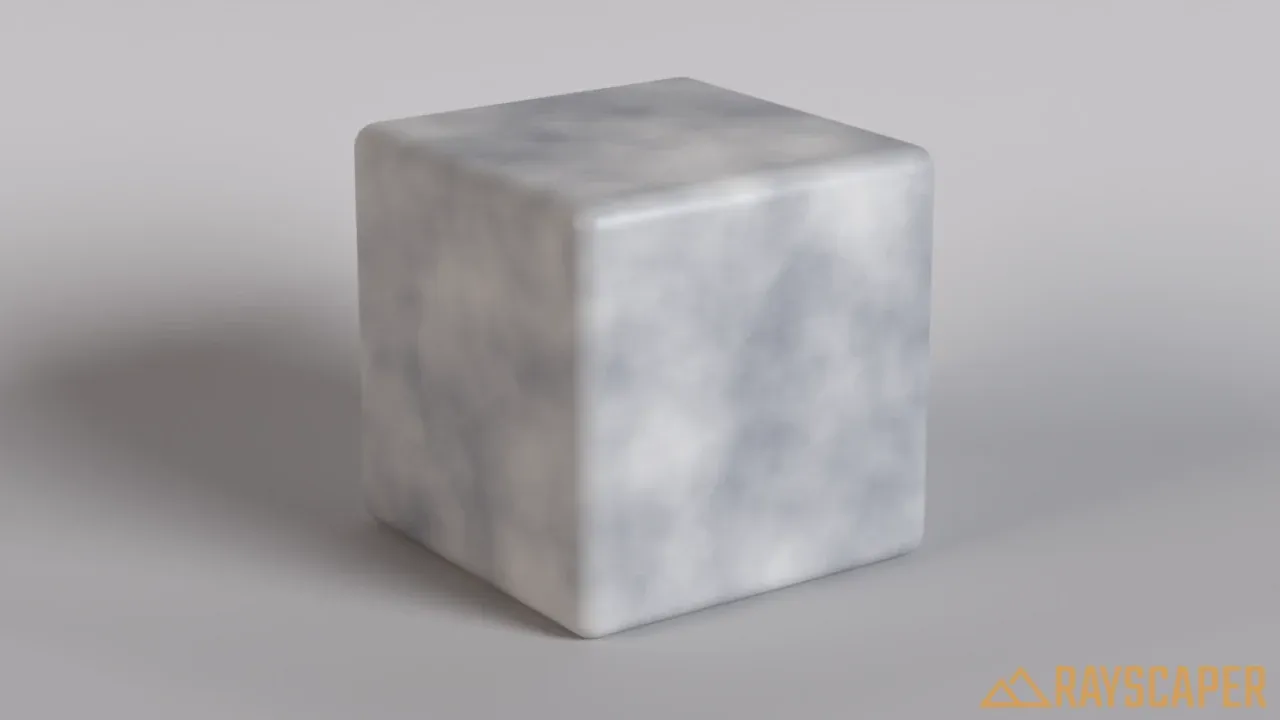
Small, busy detail.
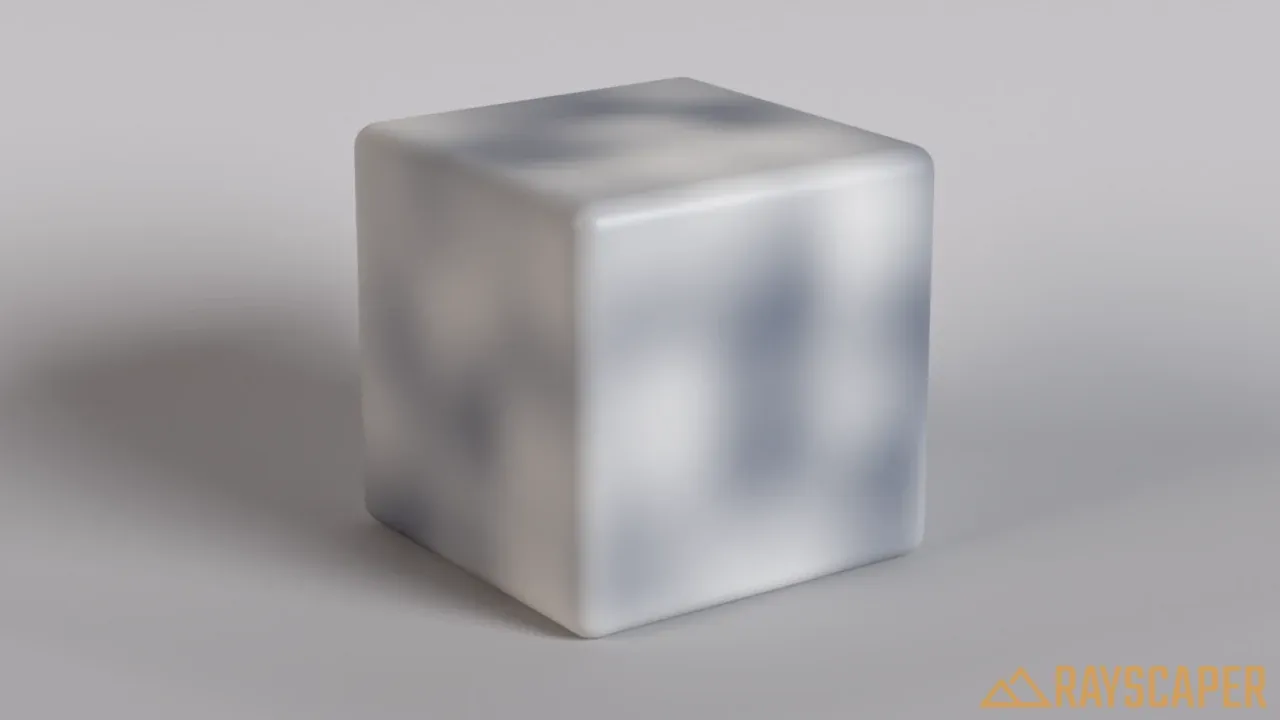
Smooth, cloudy noise.
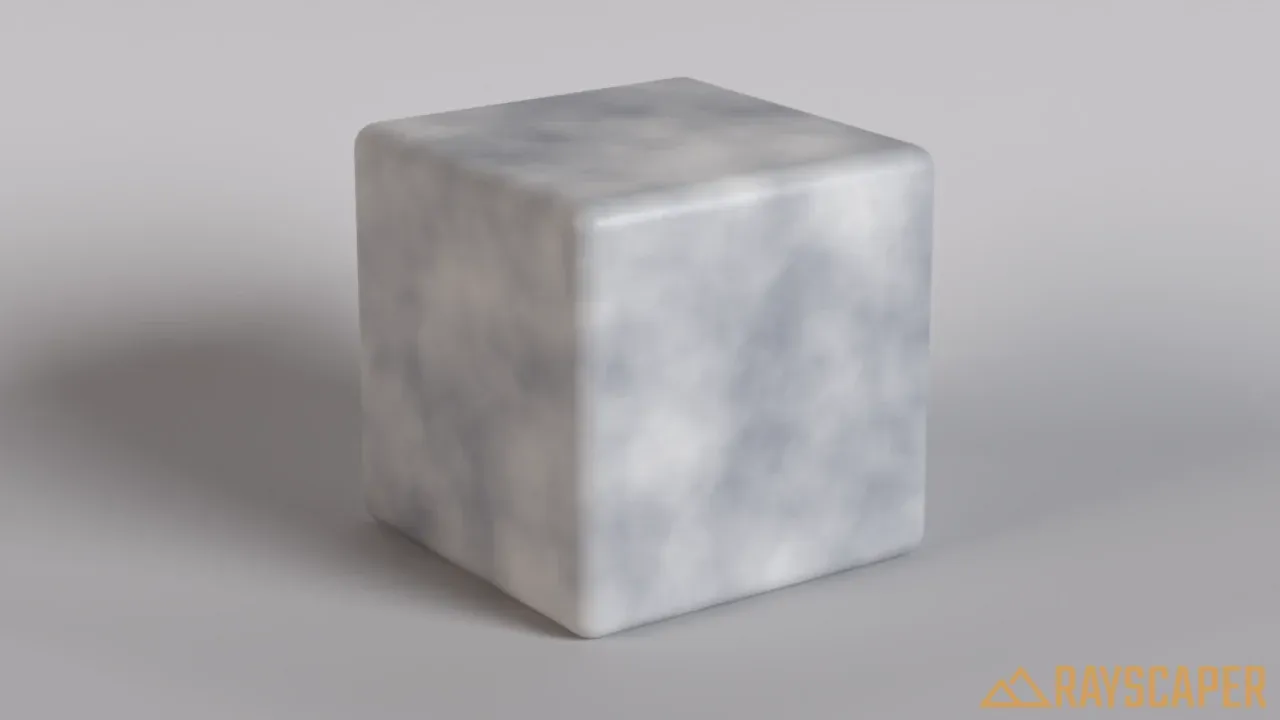
Some finer detail on top.
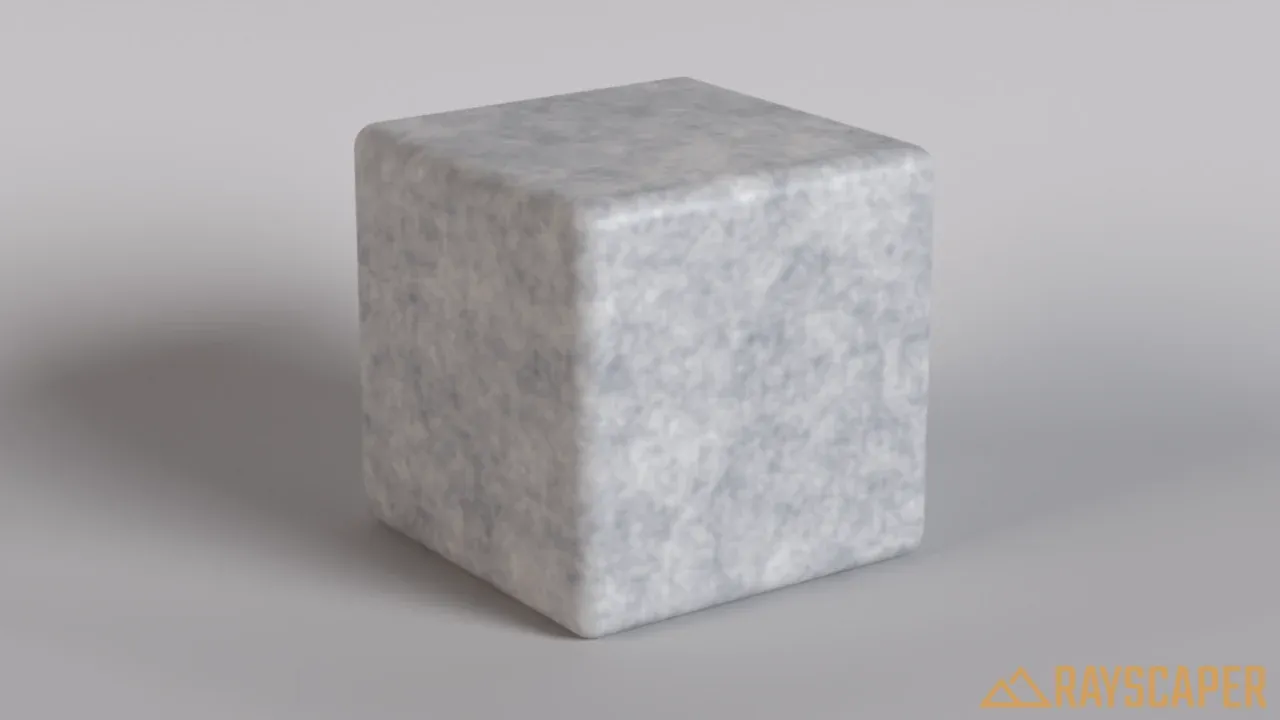
Turbulent, marble-like detail.
These noise examples scale the pattern up 3 times with the UVW Transformation, so its features are smaller than the cube.
Credits
Section titled “Credits”The examples on this page use CC0 models, textures and HDRIs from Poly Haven.